Plan the Complete 4WD Fitout First
A good DIY vehicle build starts with the whole system rather than one accessory at a time. Map out where batteries, switches, sockets, lights, water equipment, drawers, racks and recovery hardware will sit before buying parts. This helps you check space, cable routes, access for maintenance and whether different components will interfere with each other.
Measure the vehicle and the intended mounting area, then compare those measurements with the exact product dimensions and installation requirements. Vehicle-specific products should be matched to the stated model or roof type, while products described as universal still need their dimensions, mounting method and operating limits checked.
Work Out the Electrical Load Before Choosing 12V Parts
For 12V accessories, start with the voltage and expected current of each load. Fridges, pumps, lights, USB outlets, radios, winch-control equipment and other accessories can place very different demands on a circuit. The wiring, connectors, switches and protective devices need to suit the actual circuit rather than simply sharing the same plug style.
When several accessories share a switch panel or distribution point, consider the combined load as well as each branch circuit. Check the ratings published for the switch panel, sockets, connectors, cable and protection devices, and stay within the manufacturer limits for every component in the path.
Cable Size, Voltage Drop and Circuit Protection
Cable selection is affected by current, total cable run, acceptable voltage drop, installation temperature and routing conditions. Longer runs and higher-current loads generally need more conductor capacity, so a cable that works for a short low-current accessory may be unsuitable elsewhere in the vehicle.
Fuses and circuit breakers protect wiring and circuits from excessive current when they are selected and installed correctly. Match the protection to the cable, load and manufacturer instructions rather than fitting a larger fuse simply to stop nuisance operation. For unfamiliar or high-current systems, have the design checked by a qualified auto electrician.
Anderson-Style Connectors, Plugs and Adapters
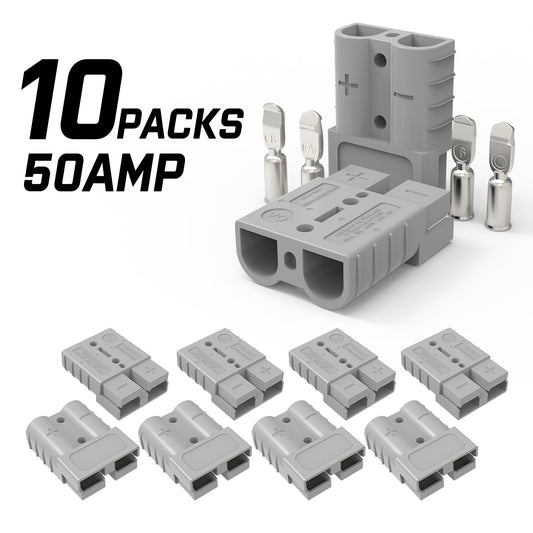
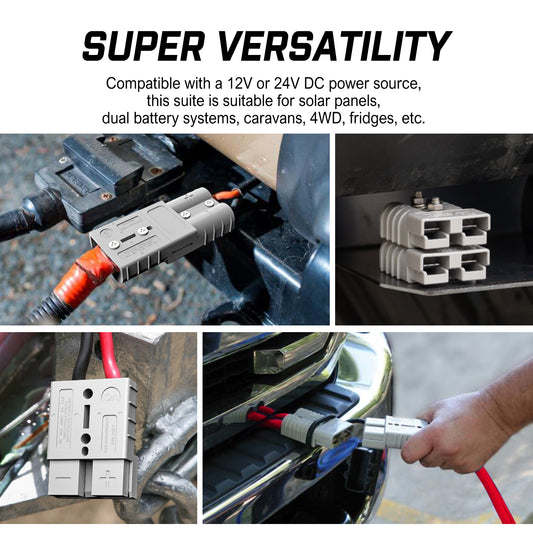
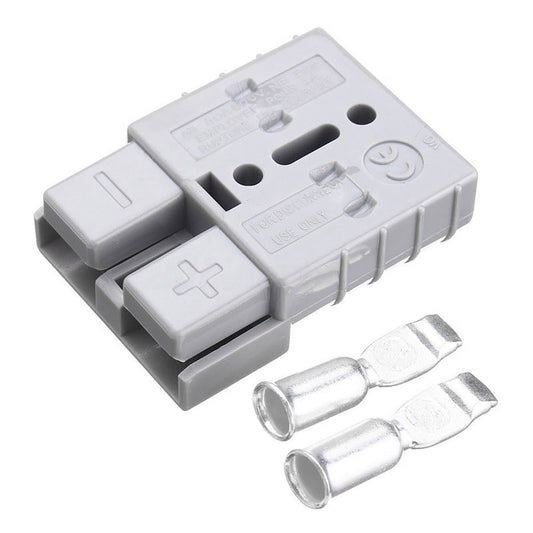
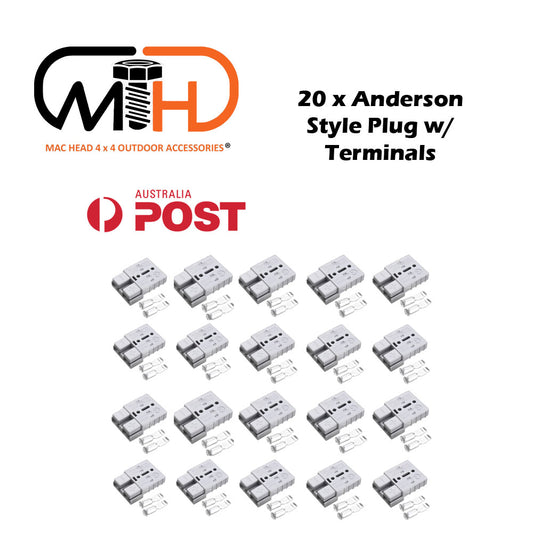
Anderson-style connectors are commonly used in portable 12V setups, but matching housings do not automatically guarantee that two pieces of equipment should be connected. Check voltage, current rating, cable size, terminal compatibility and polarity before energising the circuit.
This is especially important when adapters are used between batteries, solar equipment, trailers, chargers or portable power gear. Trace what each connector is actually connected to and follow the equipment manufacturer instructions rather than relying on colour or physical fit alone.
Switch Panels, Sockets and Accessory Circuits
Switch panels can bring lights, pumps, sockets and other accessories into one convenient control point. Before choosing one, check the panel voltage, total current rating, individual circuit ratings, socket types, fuse arrangement and the space available behind the panel for wiring.
Plan labels and circuit grouping before installation so the finished setup is easy to understand and troubleshoot. Keep wiring supported and protected from sharp edges, moving parts, heat and areas where cargo can crush or chafe it. Avoid interfering with factory wiring or vehicle safety systems.
Dual-Battery Isolators and Charging Components
A dual-battery isolator or split-charge relay must suit the vehicle charging system, system voltage, battery setup and current it is expected to carry. Check the device instructions for cable size, fusing, connection layout and compatible battery or charging arrangements.
Do not assume that a simple isolator is the correct charging solution for every modern vehicle or every auxiliary battery chemistry. Vehicle and battery requirements vary, so follow the relevant manufacturer guidance and use a qualified auto electrician when the correct charging method is uncertain.
Solar Cable Entry and Vehicle Cable Routing
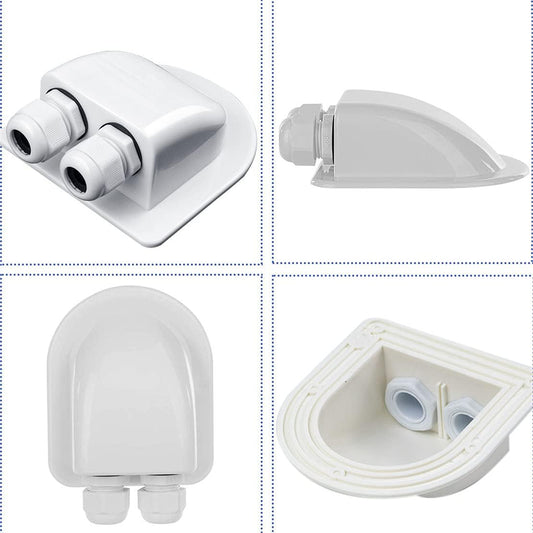
Solar cable entry glands, connector leads and similar parts can help route solar wiring into a canopy, caravan, camper or vehicle fitout. Check cable diameter, connector type, weather exposure, mounting surface and sealing method for the exact installation.
Avoid routing cables where doors, panels, seat mechanisms, suspension components or cargo can pinch or abrade them. Any holes or penetrations should be finished and sealed appropriately for the surface and location, while electrical connections should remain accessible enough for inspection and maintenance.
Drawer Slides and Storage Fitouts
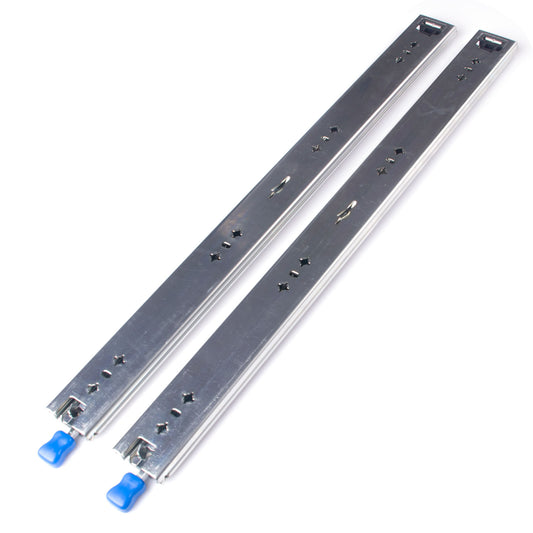
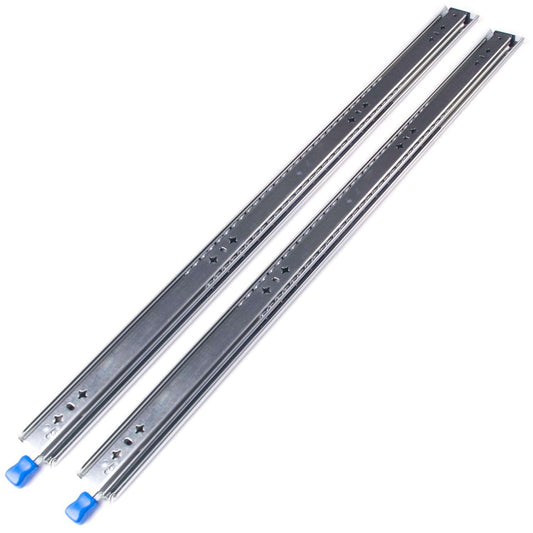
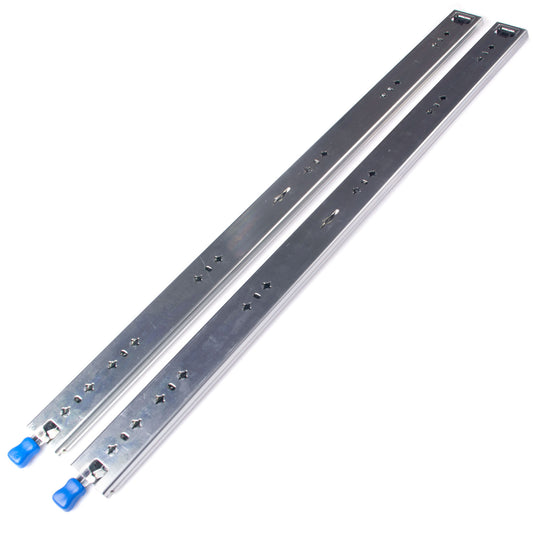
Heavy-duty locking drawer slides can be used for storage drawers, kitchen modules and fridge-slide-style projects. Choose them by length, extension, published load rating, locking method, mounting orientation and required clearances.
Calculate the loaded weight of the drawer or platform, including the gear it will carry, rather than using the empty drawer weight. The surrounding frame, fasteners and mounting points also need to support the expected load and vehicle vibration. Follow the slide manufacturer instructions for mounting and alignment.
Roof Racks, Crossbars and Roof Storage
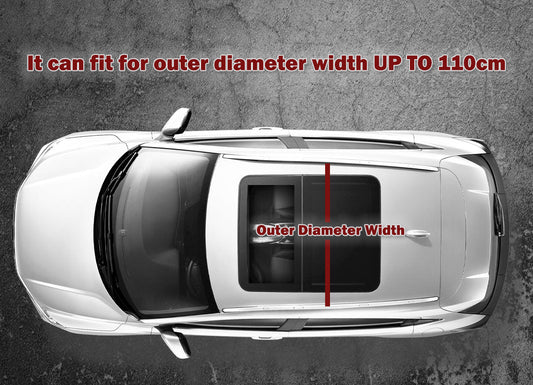
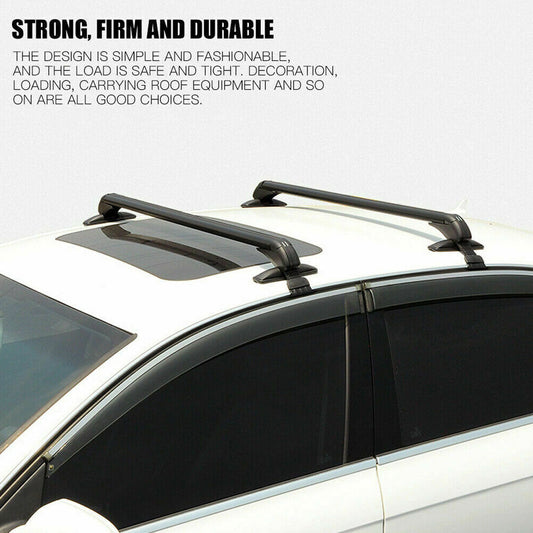
Roof bars and crossbars need to match the vehicle roof type and the rack system’s fitment requirements. Check bar width, mounting method, vehicle compatibility and the load limits for both the vehicle roof and the rack components. The complete setup is limited by its lowest applicable rating.
Also check whether the vehicle or rack manufacturer gives different limits or requirements for road, off-road or stationary use. Roof cargo changes the vehicle’s load distribution and adds height, so keep the setup within the published vehicle and rack limits and recheck mounts as instructed. Browse Roof Storage for the wider roof-carrying range.
Winch Mounting, Solenoids and Remote Controls
Winch-control parts and mounting hardware are not one-size-fits-all. Confirm voltage, current requirements, control-system compatibility, connector arrangement and mounting details against the exact winch and vehicle setup.
A winch mounting plate or bracket must suit the intended mounting structure and winch installation. Winches create high mechanical loads and use high-current electrical circuits, so follow the winch and vehicle manufacturer instructions and use a qualified installer whenever the correct mounting or electrical setup is uncertain. Related equipment is available in Recovery Gear.
12V Water Pumps and Plumbing Parts
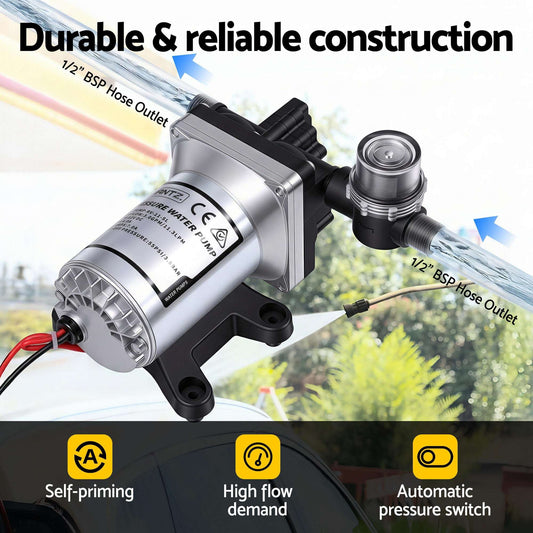
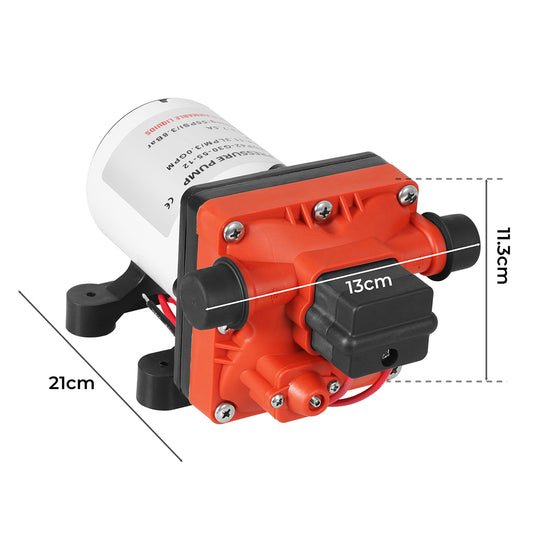
For a camping or touring water system, compare the required flow and pressure with the pump voltage, current draw, duty rating, pressure-switch operation, fitting sizes and intended water or fluid use. A larger pump is not automatically better if the plumbing, fittings or power circuit are not designed for its output.
Plan pump location, filtration, hose routing, drainage and access before mounting. Follow the pump manufacturer instructions for priming, orientation, electrical connection and protection, and make sure the system can be isolated for servicing.
Lights, Trailer Electrics and Other Vehicle Accessories
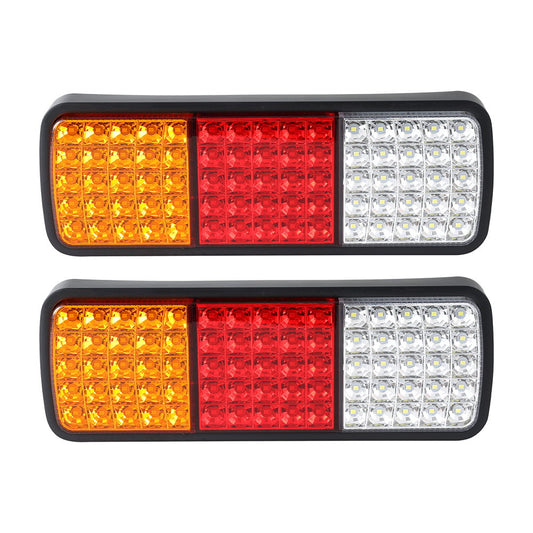
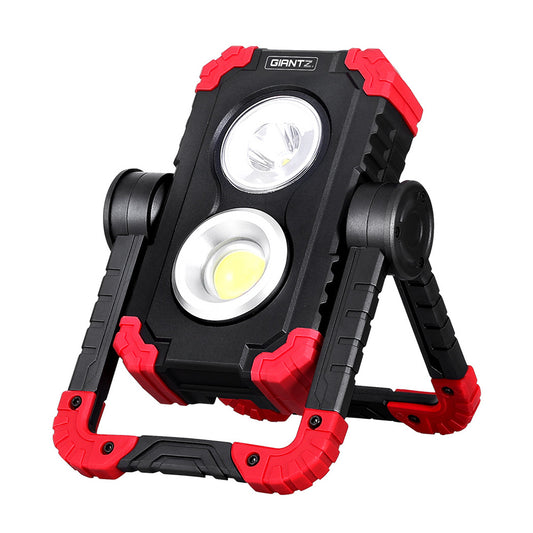
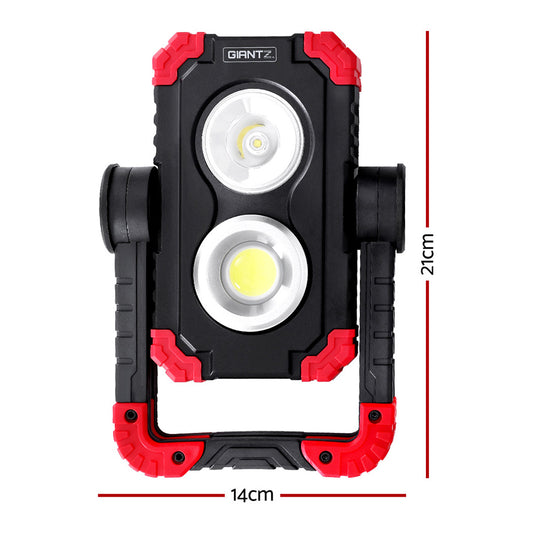
Work lights, trailer lamps, LED strips and other 12V accessories need the same basic checks as the rest of the electrical fitout: correct system voltage, suitable circuit capacity, appropriate protection, weather exposure and secure cable routing.
When an accessory connects to factory vehicle lighting, trailer circuits or control modules, confirm the vehicle-specific wiring requirements before making changes. Modern vehicle electrical systems vary, and an accessory that is electrically simple on one vehicle may require a different interface on another.
Bike Racks, Towbar Gear and Mounting Accessories
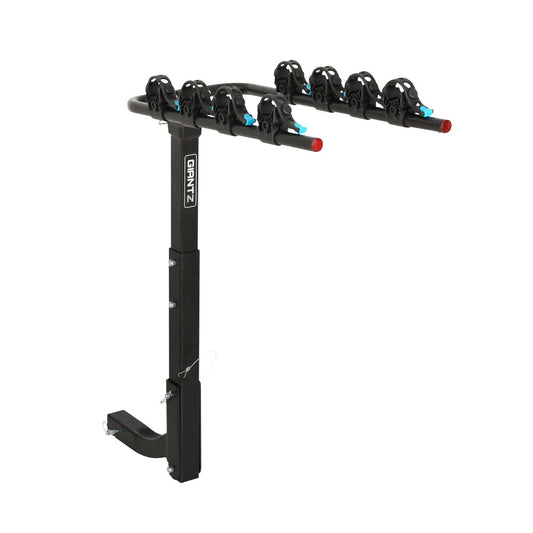
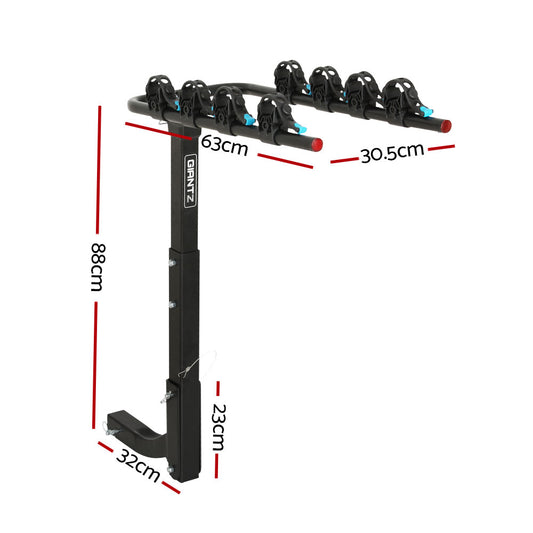
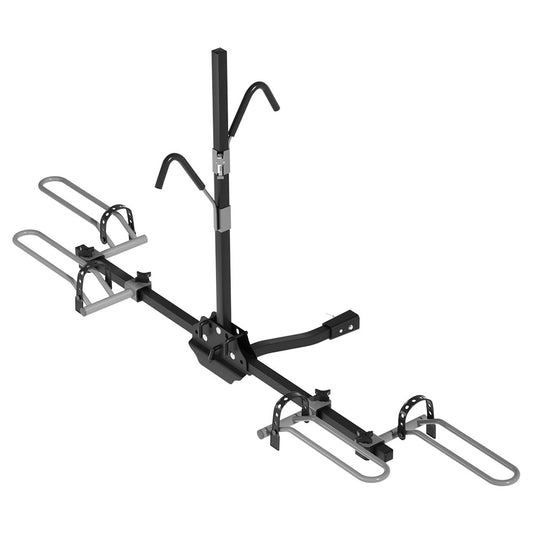
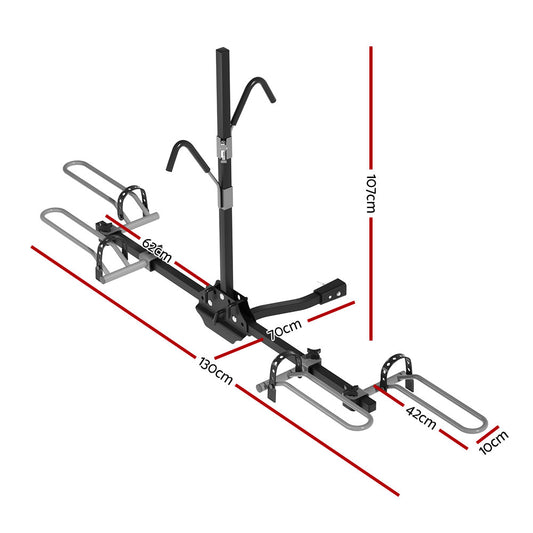
Bike racks and hitch or towbar-mounted accessories should be selected around the specific vehicle, towbar or receiver dimensions, product fitment and published load limits. Check clearance to doors, spare wheels, lights and number plates, plus the total loaded weight of the rack and bikes.
For strap-on or body-mounted racks, follow the rack manufacturer’s exact contact-point and tension instructions. Recheck the installation after loading and during travel as directed, particularly after rough-road use.
Vehicle-Specific Parts vs Universal Parts
A product described as vehicle-specific should be matched to the exact make, model, year range and body or roof configuration stated in the listing. A product described as universal still has limits: dimensions, attachment points, electrical ratings and load capacity must all suit the intended application.
Do not modify a safety-critical mounting point or electrical component simply to make an incompatible part fit. When product fitment information is incomplete, confirm the measurements and requirements before ordering or installation.
Weather, Vibration, Abrasion and Corrosion
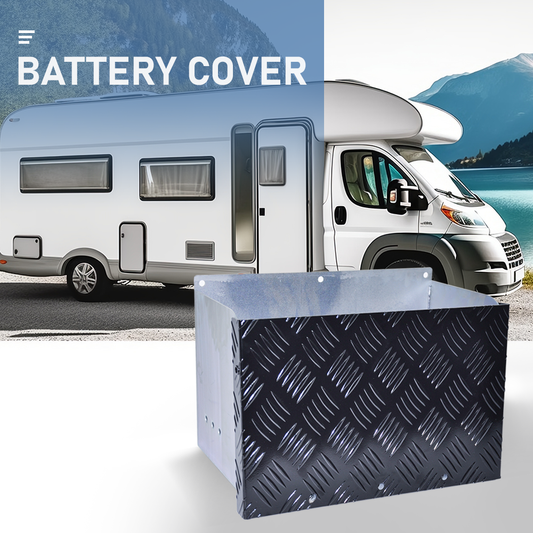
4WD and touring installations operate in a harsher environment than many indoor electrical or storage projects. Dust, water, vibration, heat, salt and repeated movement can affect connectors, cable insulation, fasteners and exposed metal.
Choose parts and mounting locations that suit the expected environment, support cables and hoses so they cannot rub through, and protect connections as the manufacturer specifies. After beach or coastal travel, inspect exposed hardware and clean salt residue where appropriate for the materials.
Test the Fitout Before a Trip
Complete the build with enough time to test it before relying on it away from home. Check that electrical accessories operate under normal load, fuses or breakers are correctly identified, drawers and racks latch securely, pumps do not leak, and cables or hoses do not become hot, pinched or abraded.
Reinspect fasteners, terminals, mounting points and moving components after the first few uses. A short local test can reveal clearance, vibration or routing problems that are much easier to fix before a long touring trip.
Common 4WD DIY Fitout Mistakes to Avoid
- Buying parts before measuring the available mounting and storage space.
- Assuming a universal accessory will fit every vehicle or roof type.
- Choosing 12V cable by plug size instead of circuit current, run length and voltage drop.
- Using oversized fuses or circuit breakers instead of matching protection to the cable and load.
- Assuming similar-looking battery, solar or trailer connectors are electrically compatible.
- Mixing charging components without checking the vehicle charging system and battery requirements.
- Rating drawer slides from the empty drawer weight instead of the fully loaded assembly.
- Ignoring the vehicle roof load limit when adding crossbars, racks and roof cargo.
- Routing wires or hoses across sharp edges, heat sources or moving vehicle parts.
- Using winch controls or mounting hardware without confirming compatibility with the exact winch and vehicle.
- Finishing the build immediately before a trip without testing it under normal operating conditions.
Complete Your 4WD Setup
For electrical upgrades and auxiliary power, browse 12V Camping Power. For winches, tracks and related equipment, see Recovery Gear. For crossbars and cargo carrying, browse Roof Storage, or return to 4WD Gear & Off-Road Accessories for the wider vehicle range.
Product note: Fitment, electrical ratings, cable sizes, load capacities, dimensions, included hardware and installation requirements vary by product. Check the exact listing and manufacturer specifications before ordering or installing any part.
Safety note: 12V battery systems can deliver high fault current, while roof racks, winches, drawers and other mounted equipment can create serious mechanical hazards if incorrectly selected or installed. Follow the vehicle and equipment manufacturer instructions, use correctly rated wiring, circuit protection, fasteners and mounting points, and engage a qualified auto electrician or installer for high-current, safety-critical or unfamiliar work.
Guide reviewed: August 2026.