What a Solar Regulator Does
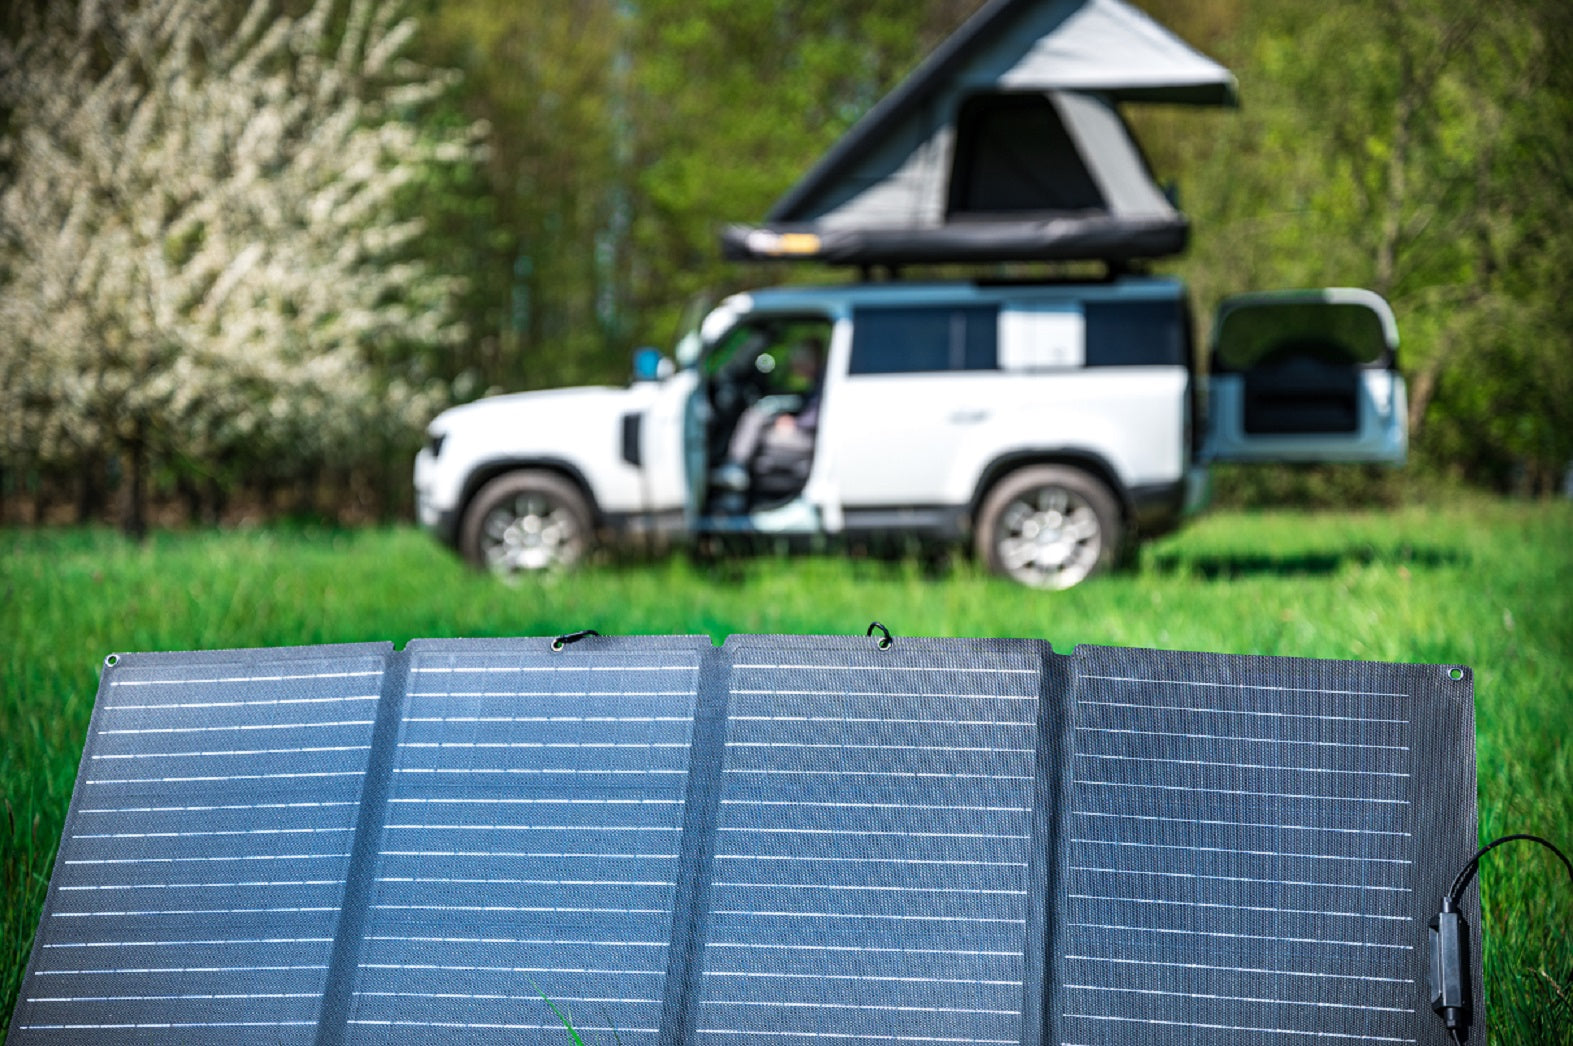
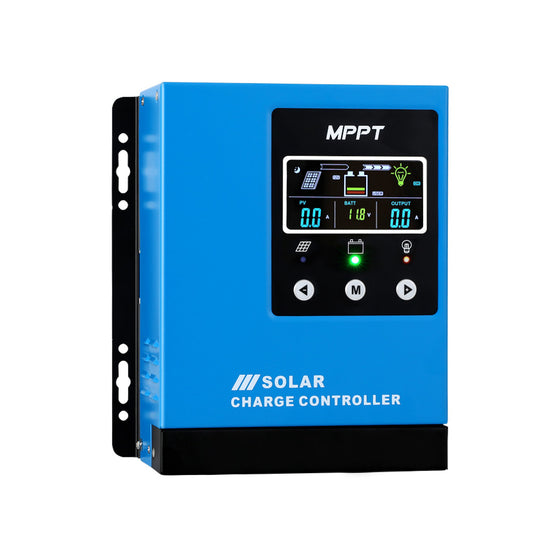
A solar regulator, also called a solar charge controller, sits between a compatible solar array and battery system to control how solar energy is used for charging. The controller needs to suit the panel array, battery voltage and battery charging requirements. Its voltage, current, power and battery-mode limits all matter when matching it to a system.
Start With Battery System Voltage
Check the nominal battery-system voltage before comparing controllers. The current range is not identical across every model: the Giantz 50A MPPT controller is listed for 12V and 24V systems, while the current 40A and 60A models are listed for 12V, 24V, 36V and 48V systems. Use the exact model specification rather than assuming a controller labelled for 12V will automatically suit a higher-voltage setup.
Match the Controller to the Solar Array
Compare the solar array with the controller's published PV input limits. Look at total panel power, array voltage, the way panels are connected and any other limits stated for the controller. Maximum PV input power can change with battery-system voltage, so panel wattage on its own is not enough to choose a regulator.
The current models have different PV limits. For example, the 50A controller lists different maximum solar input power for 12V and 24V systems, while the 60A model lists separate limits across 12V, 24V, 36V and 48V. Check the individual product specifications before designing or expanding an array.
Choosing 40A, 50A or 60A
The amp rating describes the controller's rated charge-current capacity, but it should be considered alongside the rest of the system. A larger number does not automatically make a controller the right choice. Compare battery voltage, expected solar input, PV voltage limits, battery type, wiring requirements and any future expansion you genuinely plan to make.
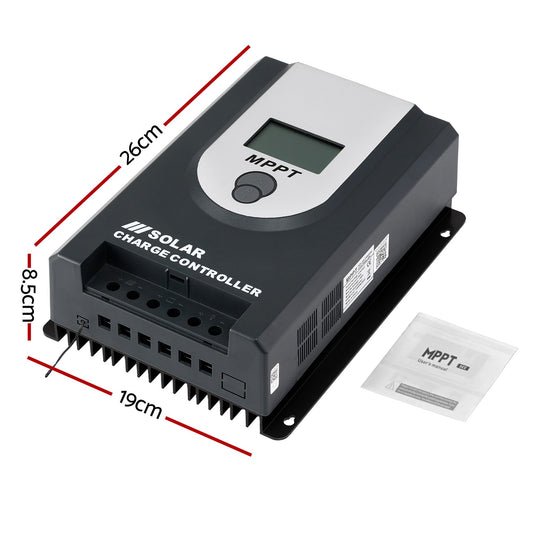
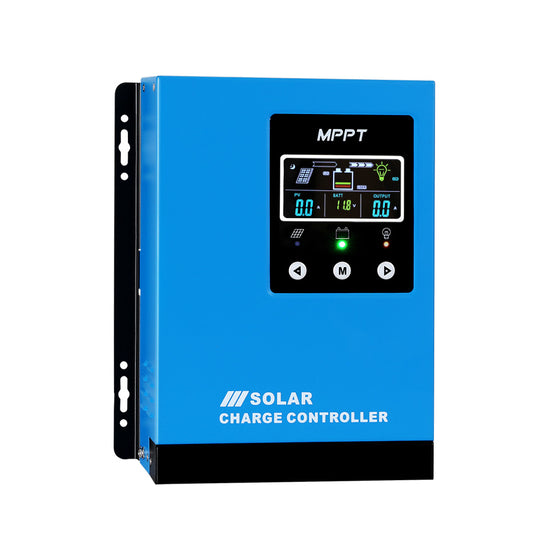
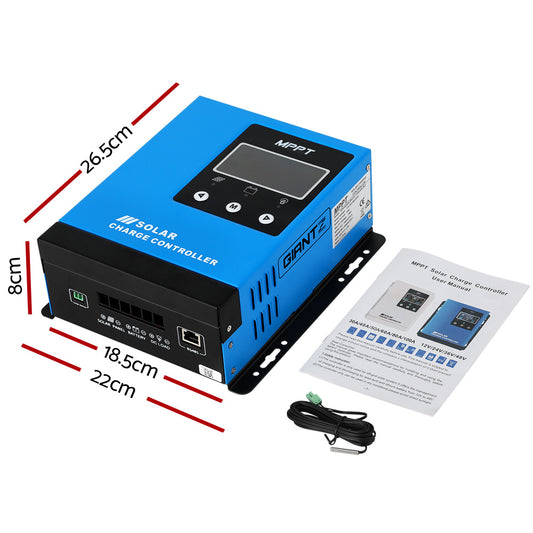
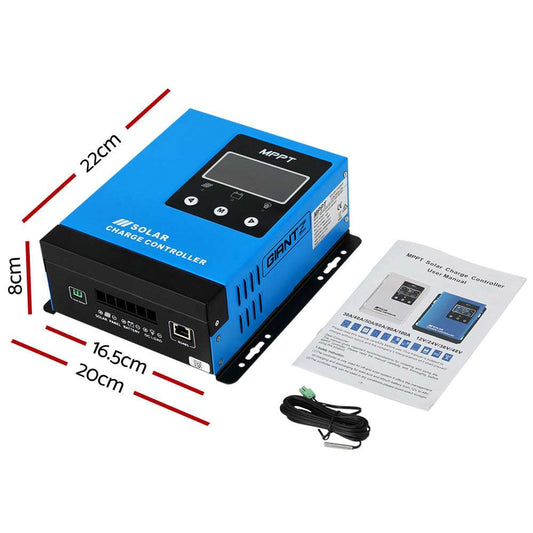
The current Just Camp range includes 40A, 50A and 60A MPPT controllers. Monitoring and communication features also vary: selected models include Bluetooth, LCD monitoring, RS485 or RJ45 connections, temperature sensing and active cooling. Check the individual product page for the features included with the exact model.
MPPT vs PWM Solar Regulators
MPPT and PWM are different approaches to solar charge control. MPPT controllers are commonly used when greater flexibility between panel voltage and battery charging voltage is useful, or when making effective use of available panel output is a priority. PWM can still suit some simpler systems, but controller choice should be based on the complete solar and battery design rather than the technology label alone.
The current solar-regulator collection is made up of MPPT models. If you are replacing an existing PWM controller, do not assume the same panel arrangement, settings or wiring can simply be transferred without checking the new controller's requirements.
Check Battery Chemistry and Charge Settings
A controller must use charging settings that suit the battery it is connected to. The current products list battery modes including GEL, SLD, FLD, USR and lithium, but compatibility still depends on the exact battery and its required charging profile. A battery-mode label should not be treated as universal compatibility with every battery of that chemistry.
Check the battery manufacturer's charging requirements against the controller settings before use. This is particularly important when a user-defined profile is available, because a configurable controller still needs to be configured correctly.
Lithium Battery Setup Needs Attention
Lithium batteries can require different charge settings from lead-acid battery modes, and battery-management-system requirements also vary. The current Giantz 50A controller specifically notes manual setup for lithium. Even where another model provides automatic system-voltage detection, that does not remove the need to choose or confirm the correct battery charging settings.
Understand Maximum PV Input Voltage
Maximum PV input voltage is a hard specification to check, not a performance target. The solar-array voltage must remain within the controller's published input limit under the conditions described by the manufacturer. Panel configuration matters because connecting panels in series and parallel changes the array's voltage and current differently.
Do not add panels, reconfigure strings or substitute a controller without recalculating the resulting array and checking all relevant input limits. If you are unsure how the panel specifications translate to the completed array, use the manufacturer's design guidance or seek suitable technical help.
Wiring, Cable Size and Circuit Protection
Solar charging systems can carry substantial DC current. Use cable, connectors, terminals, isolation and overcurrent protection that are appropriately rated for the controller, battery, array and installation. Maintain correct polarity and use the terminal sizes and tightening requirements specified by the manufacturer. Loose, undersized or incorrectly protected connections can create heat and faults.
Plan cable routes so they are protected from abrasion, sharp edges, moving parts and unnecessary heat. Do not work on energised wiring contrary to the manufacturer's instructions, and isolate the relevant sources before installation or servicing where required.
Heat, Ventilation and Mounting
Charge controllers generate heat while operating. Mount the controller in the orientation, location and temperature range specified by the manufacturer, with the required airflow around heat sinks or cooling fans. Avoid enclosing a controller where heat cannot escape, and keep it away from water, excessive dust and other conditions outside its stated operating limits.
Battery systems also have chemistry-specific safety and ventilation requirements. Follow the battery manufacturer's installation and operating instructions as well as the controller instructions.
Monitoring: LCD, Bluetooth and Communication Ports
Monitoring can make it easier to check charging status, system voltage and controller operation, but the available tools vary. The current 50A model includes Bluetooth, while the present 40A and 60A product specifications list communication ports such as RS485 and RJ45. LCD displays are also listed across the current range.
Choose monitoring features based on how you will actually use the system. A display or app is useful for observing the system, but it does not replace correct sizing, wiring, battery settings or routine inspection.
Don't Assume Auto Voltage Means Plug-and-Play
Automatic voltage detection can simplify initial setup on supported battery-system voltages, but it does not confirm every other part of the installation. You still need to check PV input limits, battery chemistry, charge parameters, cable sizing, polarity, terminals and any model-specific setup steps.
Plan for Future Solar Expansion
If you expect to add panels later, leave sensible design headroom rather than choosing a controller only for today's array. Any later expansion must still remain inside the controller's maximum PV voltage, power and current requirements at the system voltage being used. Recheck the complete array whenever panel quantity or series/parallel configuration changes.
Common Solar Regulator Mistakes to Avoid
- Choosing a controller from its amp rating alone.
- Assuming every regulator in the range supports the same battery-system voltages.
- Exceeding the controller's maximum PV input voltage or power.
- Treating a lithium mode as proof of compatibility with every lithium battery.
- Relying on automatic voltage detection without checking battery charging settings.
- Adding solar panels without recalculating the array voltage and power.
- Using undersized cable, poorly matched terminals or unsuitable circuit protection.
- Reversing polarity or making connections without following the installation sequence.
- Blocking cooling airflow or mounting the controller outside its specified operating conditions.
- Assuming Bluetooth, temperature sensing or communication ports are included on every model.
Explore Solar Panels, Batteries & 12V Power
Building a complete system? Browse 12V Solar for solar panels and related solar equipment, 12V Batteries & Chargers for battery and charging options, or return to 12V Camping Power for the wider off-grid power range.
Product note: Rated current, supported system voltage, maximum PV input power and voltage, battery modes, monitoring, Bluetooth, communication ports, temperature sensors, cooling features and included accessories vary by model. Check the individual product specifications before ordering or designing a system.
Safety note: Follow the solar-controller, battery and solar-panel manufacturers' installation and operating instructions. Use appropriately rated wiring, connectors and circuit protection, maintain correct polarity, isolate energy sources as directed before wiring or servicing, and seek suitably qualified assistance when the installation or applicable requirements call for it.
Guide reviewed: August 2026.