Portable Solar Setup Guide for Camping
Share
Flat batteries can turn a good campsite into a headache fast. A solid portable solar setup guide helps you avoid warm fridges, dead mobiles and the usual guesswork that comes with trying to power gear off-grid in Australia.
The good news is you do not need an overbuilt system or a ute full of expensive gear to get dependable power. For most campers, caravan travellers and weekend road trippers, a portable setup can be simple, practical and easy to pack. The trick is matching your solar panel, battery and charging gear to the way you actually travel.
What a portable solar setup really needs
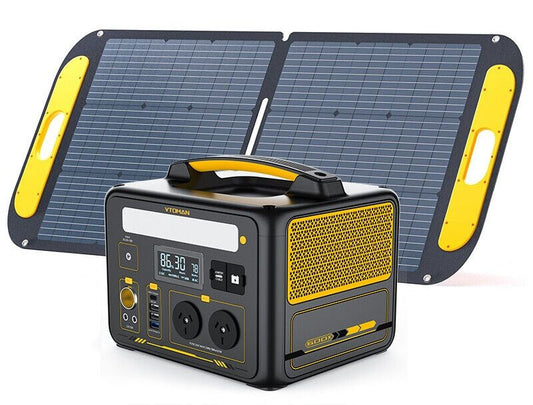
At its simplest, a portable solar setup has four parts - the solar panel, a regulator, a battery, and the devices you want to run. If you want to power 240V appliances, you may also need an inverter, but plenty of camping gear now runs happily on 12V or USB, which is usually more efficient.
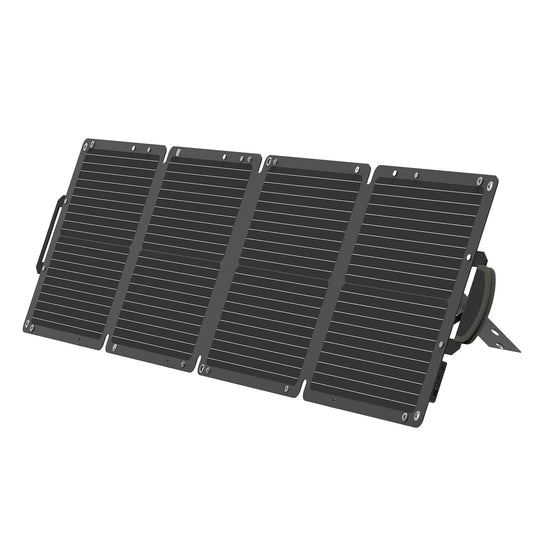
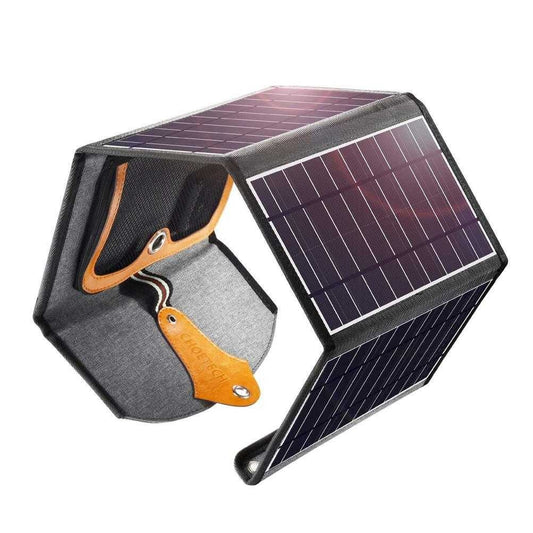
Portable folding panels are popular because they pack down neatly and can be moved around camp to chase the sun. A battery box or portable power station keeps storage tidy and makes transport easier. For a lot of campers, that combination is the sweet spot between convenience and usable power.
There is no one-size-fits-all answer here. A solo overnighter running lights and a mobile charger has very different needs from a family trying to keep a fridge, fan, cameras and tablets going for four days on the coast.
Start with your power use, not the panel
This is where most people get it backwards. They buy a panel first, then hope it covers everything. A better portable solar setup guide starts with your daily power use.
Think about what you actually run in camp. A 12V fridge is usually the big one. Then there are LED lights, mobiles, a compressor, a fan, camera batteries, a laptop or maybe a CPAP machine. Each item draws a certain amount of power, and how long you use it matters just as much as the wattage.
As a rough guide, a basic weekend setup with lighting, mobile charging and a small fridge often lands somewhere around 40Ah to 80Ah per day. Add more appliances, warmer weather or poor fridge ventilation and that number climbs quickly. If you are unsure, it pays to leave a bit of buffer rather than sizing everything to the bare minimum.
Picking the right battery for camping
The battery is what gets you through the night and cloudy patches. For portable camping use, the main options are AGM and lithium.
AGM batteries are generally cheaper up front and still suit plenty of campers. They are reliable, widely available and fine for occasional use. The trade-off is weight. They are bulky, heavier to move around, and you should not drain them as deeply as lithium if you want a decent lifespan.
Lithium batteries cost more, but they are lighter, faster to charge and usually give you more usable capacity. If you camp often, move gear in and out of the vehicle regularly, or want better performance in a compact setup, lithium often makes sense. For caravan and 4WD travellers doing longer trips, that extra efficiency can be worth the spend.
As a practical starting point, a 100Ah battery suits many campers running a fridge and a few essentials. If you only need lights and device charging, you may get away with less. If you are powering more gear or staying put for longer, you may need to step up.
How much solar do you need?
Once you know roughly what you use each day, you can work out how much solar needs to go back in. This is where Australian conditions matter. We get good sun, but not every campsite has perfect panel placement, and cloud, shade and winter travel all reduce output.
For many portable setups, 120W to 200W of folding solar is a common starting point. That can be enough for light-to-moderate use in decent conditions. If you are relying on a fridge full-time or travelling for longer stretches, 200W to 300W gives you a safer margin.
It depends on where and how you camp. In open country with panels angled properly, you will get better results than you will under trees near a creek. If your style of camping involves plenty of shaded sites, bigger panel capacity helps cover the losses. So does being realistic. Portable solar is excellent, but it still needs sunlight to do the job.
Portable solar setup guide to regulators and charging
The regulator controls how power flows from the panel into the battery. In portable systems, you will usually come across PWM and MPPT regulators.
PWM regulators are cheaper and can be perfectly fine on small, budget setups. MPPT regulators are generally more efficient, especially in cooler weather or when panel voltage is higher. If you are spending good money on panels and battery storage, an MPPT regulator usually gives better performance and helps make the most of available sun.
Some portable panels come with a regulator already attached. That is convenient, but quality can vary. If you are building a more serious setup, it is worth checking that the regulator is actually suited to your battery chemistry, especially with lithium.
You might also charge your battery while driving through a DC-DC charger. That can be a smart move for 4WD and touring setups because it gives you another way to top up when solar conditions are poor. Solar and vehicle charging together often make the most dependable combo.
Do you need an inverter?
Not always. If your fridge, lights and chargers all run on 12V or USB, skip the inverter where you can. It adds cost, takes up space and wastes some power in the conversion process.
An inverter is worth considering if you need 240V for specific gear like a laptop charger, power tool battery charger or small appliance. The key is not oversizing it. A massive inverter sounds handy, but if you only use it for small devices, it is extra bulk for not much gain.
For camping, smaller pure sine wave inverters are generally the safer option for sensitive electronics. Modified sine wave units are cheaper, but they are not ideal for everything.
Keeping your setup practical in the real world
A portable solar system looks great on paper, but campsite reality matters. Panel placement makes a big difference. You want full sun for as many hours as possible, and that usually means moving the panel during the day instead of just setting it once and forgetting it.
Cable length matters too. Longer cables let you park in shade while panels sit in the sun, which is a big plus in summer. But very thin or overly long cable runs can reduce efficiency. Good quality leads and solid connectors are worth having.
Dust, heat and rough roads also take a toll. A setup built for Australian camping should be easy to pack, simple to connect and tough enough to handle corrugations, beach trips and regular loading in and out of the vehicle. This is where practical gear beats fancy features every time.
Common mistakes that cost you power
The biggest mistake is undersizing the system. If your battery and panel are only just enough in perfect weather, you will run into trouble quickly when conditions change. A bit of spare capacity saves a lot of frustration.
Another common issue is poor battery management. Running an AGM flat, leaving batteries uncharged for long periods, or using the wrong regulator settings can shorten battery life. Even a good setup needs a bit of care.
People also forget how much power fridges use when airflow is bad. If your fridge is crammed into a hot vehicle with no ventilation, it has to work harder. That means more battery drain and more pressure on your solar input.
A simple way to choose your setup
If you are a light user doing short trips, a 120W folding panel with a small battery box may be enough. If you run a fridge and camp regularly, a 200W panel with a 100Ah battery is a more dependable place to start. If you are touring longer term, charging multiple devices and relying on off-grid power every day, step up in both battery capacity and solar input rather than hoping a basic setup will cope.
That is usually the smartest way to shop too. Buy for the trip you actually do most often, then leave room to expand. Plenty of campers start with a modest setup and add another panel, a larger battery or a better charger once they know how they travel.
For practical buyers, the best system is rarely the flashiest one. It is the one that keeps the fridge cold, charges what matters and works without fuss when you are kilometres from the nearest powered site. Great value gear, sensible sizing and a bit of planning go a long way.
If you are building your first off-grid power kit, keep it simple, choose gear suited to Australian conditions, and give yourself a bit more capacity than you think you need. You will feel the difference on the second night, not just the first.